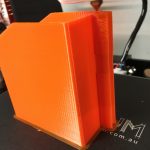
Today I knocked out a quick 3D print for a practical purpose for once – a toothbrush holder. Not very exciting, but a good chance to get some practice in with Fusion 360. It was both a close failure and an accidental success, and a good lesson in tolerances/interferences.
Backstory
Our ensuite shower has been out of commission for about a month, waiting for me to get off my arse and fix a broken tap. I had been quite happy ignoring the problem and using the main bathroom shower, but my long-suffering girlfriend finally got tired of me working on every project but the important house repair ones, and so ordered me off to Bunnings for plumbing supplies.
The tap turned out to be an easy fix, but unfortunately a disused bathroom in a month of Australian summer lead to a little bit of gross mould build up in the shower. A spray of noxious bathroom cleaner soon sorted the shower tiles, but sadly our toothbrush holder was a write-off.
Aha! Thought I, finally a chance to use my 3D printer for a practical purpose. I not only could design a holder to replace the old one, but I could make it so it would fit perfectly in our wire shower caddy.
The Design
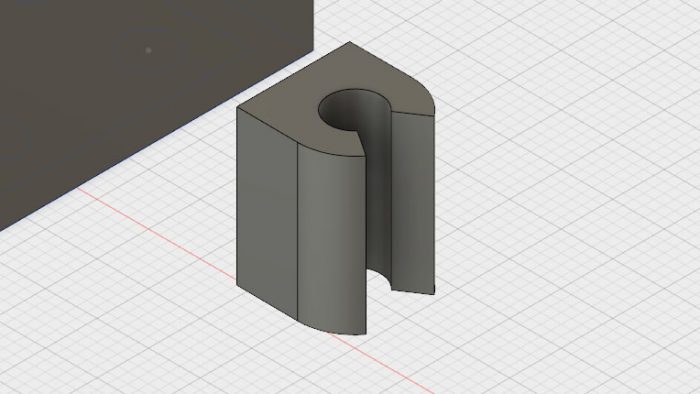
I measured up the caddy and came up with an idea for a design that would fit in the upper tier basket of the caddy, and also clip to the vertical arm to prevent falling over, a problem our old one had that irritated me to no end. Here’s what I came up with:
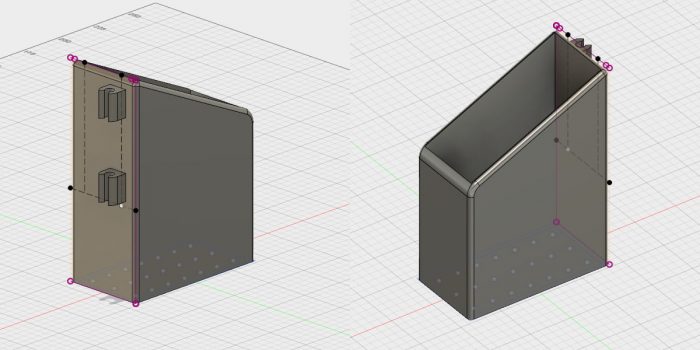
At 12cm, this was going to be the tallest print I’ve done yet with the Anet A8, so I was excited to see how the printer handled the dizzying altitudes.
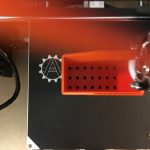
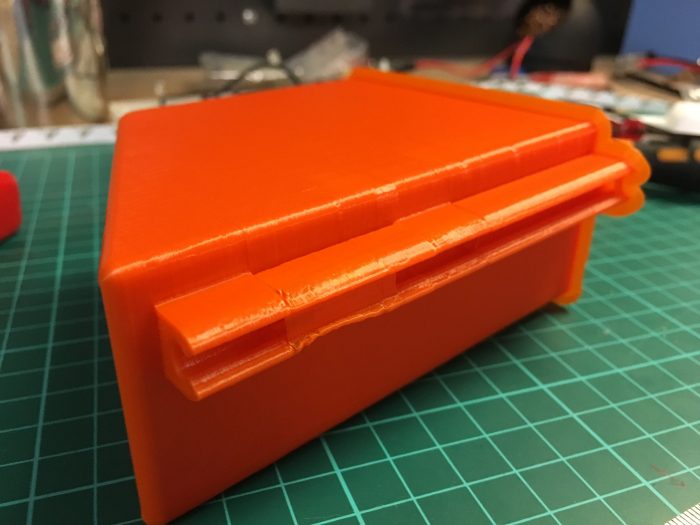
I made the walls of the holder 3mm thick, which might seem slightly overkill for this purpose, but I had an issue with the last box-like structure I printed where I made the walls 2mm, then accidentally set Cura to do 1.2mm wall widths. The mismatch made for a weird result where two thin walls were printed side-by-side with no infill material between them, leading to some weird flexing, floppy walls. Also it didn’t print a ‘cap’ for the top of the walls, leaving a thin channel down the middle. If that makes no sense at all, see below for a pic.
So wary of this happening again, I increased the wall thickness. As it happens, I ended up remembering to changing the wall thickness to back 0.8mm in Cura anyway, so I guess it would have been all good either way.
I put a nice angular cut across the top of the holder for looks, filleted every corner that could stand to be filleted, and put some holes in the bottom for drainage. With all that done, it was time to export the STL, load in Cura, dump some GCode onto the SD card and off to the Anet A8 we go.
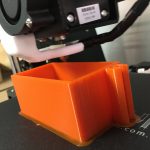
About four hours later I came downstairs to this:
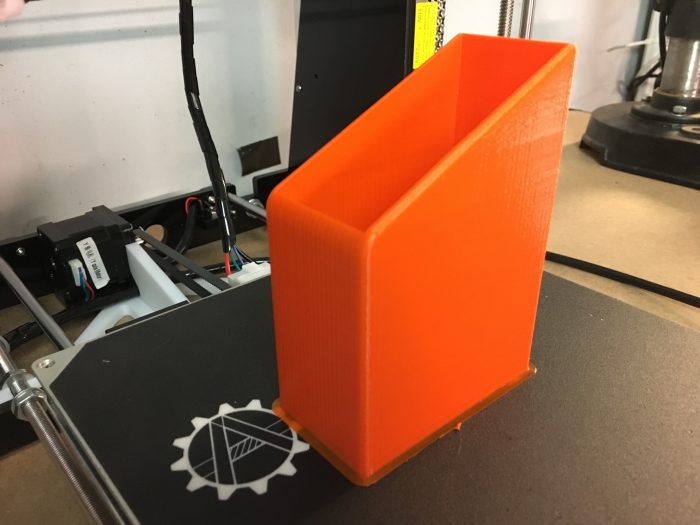
Looks pretty good. And yep, that’s definitely some pretty bad ghosting in the walls, no big deal for this print, but it’s definitely time to get some fibre reinforced belts to replace the stretchy stock belts.
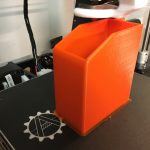
I used the ‘triangular’ support setting for the jutting out clips on the back of the holder, just because I’d never used it before. It worked really well, the support structure was a bit harder than usual to break away, I had to use a craft knife to persuade it in some areas, but in the areas where it did snap away by itself it came off cleanly in one piece and didn’t leave much behind at all.
Alright, cool. Time to chuck this in the bathroom where the world (or at least my girlfriend, or anyone else who happens to use my shower) can see a bright orange testament to how bloody clever I am.
Tragedy!
The fucking thing didn’t fit.
In my haste to whip up this design I didn’t consider tolerances at all. I made the length of the holder the exact width of the basket, and due to a slight taper in the basket and also probably the imprecise nature of 3D printing, the holder wouldn’t fit.
I found I could jam it in towards the middle of the basket if I flexed bent out the basket with my hand, but that negated the use of the vertical bar clips, and put the holder in a less useful spot, essentially voiding the main design elements of the holder. I could have just as easily just used any old narrow container, dammit.
Triumph!
However, just by coincidence, the height of holder turned out to be a centimetre or so less than the distance between the top and bottom tier of the shower caddy.
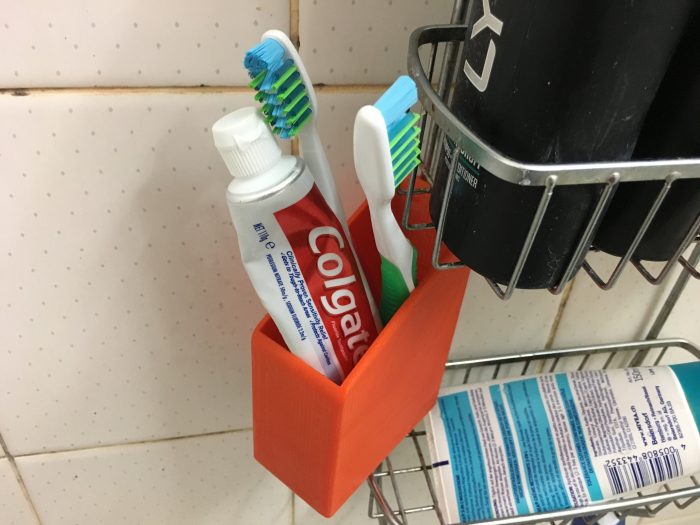
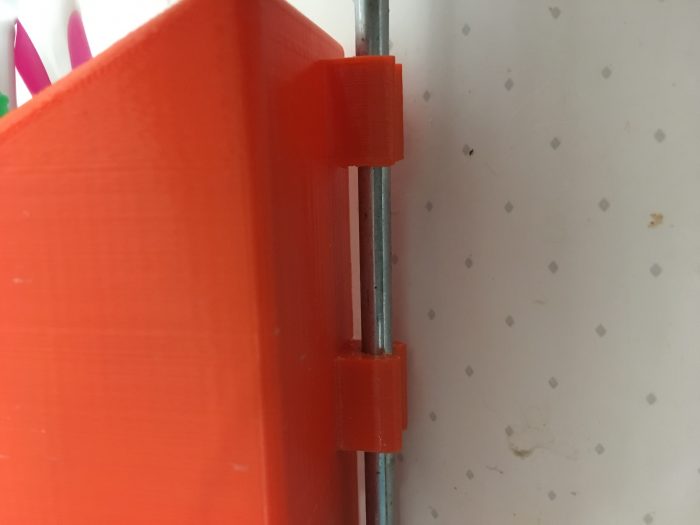
I realised (after some frustrating attempts to cram the slightly-too-large holder into other parts of the caddy) I could actually attach the bar clips to the lower section of vertical bar, turn the holder sideways, and voila! Fits perfectly, works a treat, and even looks like it was supposed to work that way! Hooray!
Actually, I got another lesion in tolerance/interference here. The bar clips were designed to use a very common friction-fit method of gripping the vertical bar – they are basically a cylinder with a section cut away, just enough so that pressing the clips onto the bar will cause them to flex slightly, they then jump over the wider part of the bar and settle into their original position once the bar settles into the centre of the cylinder (hopefully without breaking the clip in the process) and use that friction to hold on to the bar. This counts on the design leaving enough of a tolerance gap to push the bar through, but also leaving enough interference behind to grip the bar tightly.
I totally guessed at this during the design process. I don’t know if there’s a design process or method to calculate this (actually on thinking about it I’m fairly sure there must be, probably something taking material flexibility Vs thickness of the bar Vs the width of the barrel of the clip into account) but as a result I just eyeballed it and got pretty close, but not quite.
With some quite hard pressure I could see the clip start to open up but not quite clear the bar. I was pressing so hard I got worried about snapping the clip, so I grabbed an emery board and filed down the edges on both clips a bit. After a few goes at pushing and filing and pushing and filing again, the clips finally clasped the bar with a satisfying ‘snap’.
The final result of this rambling tale is I got a pretty nice looking custom toothbrush holder, learned some lessons about integrating tolerances into design, and got away with an accidentally useful alternate use for a print that technically didn’t work. Pretty good result I reckon.